Tutorial #5 - How to assemble the metal lamp holder?

Tutorial #5 - How to assemble the metal lamp holder?

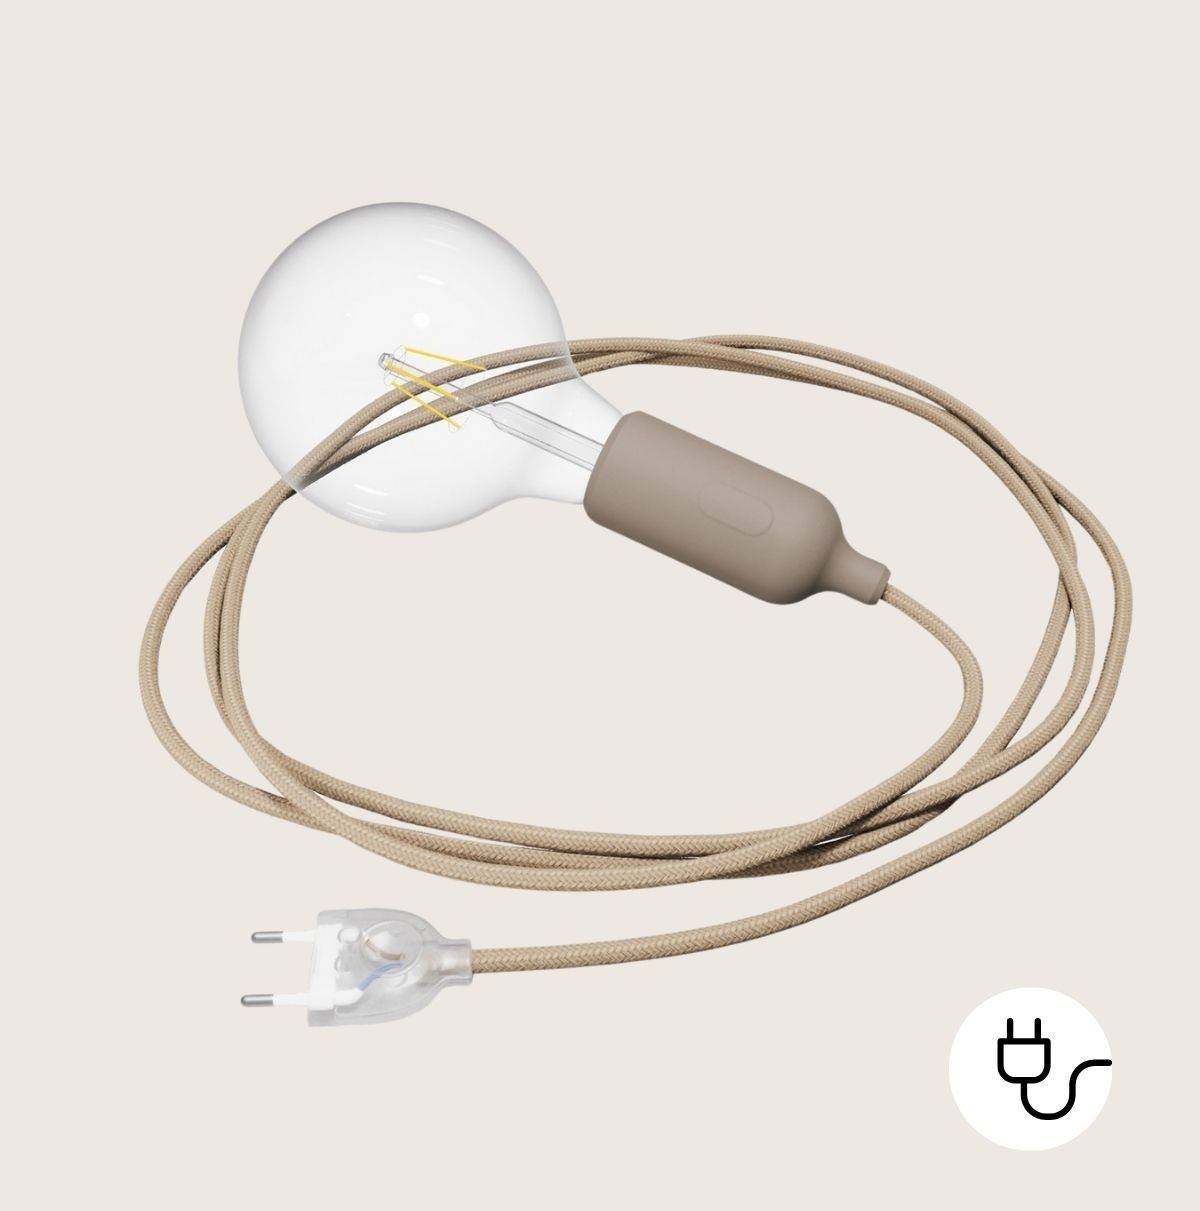
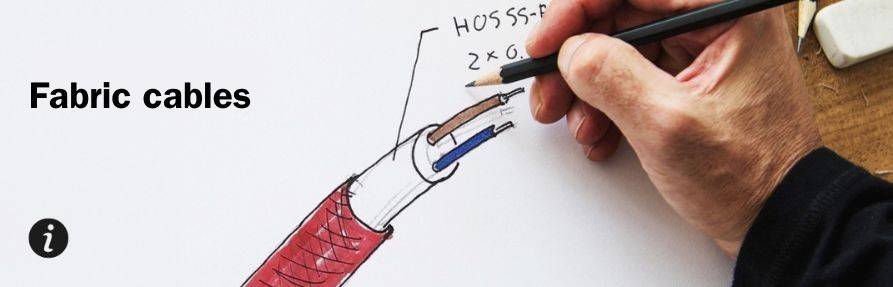
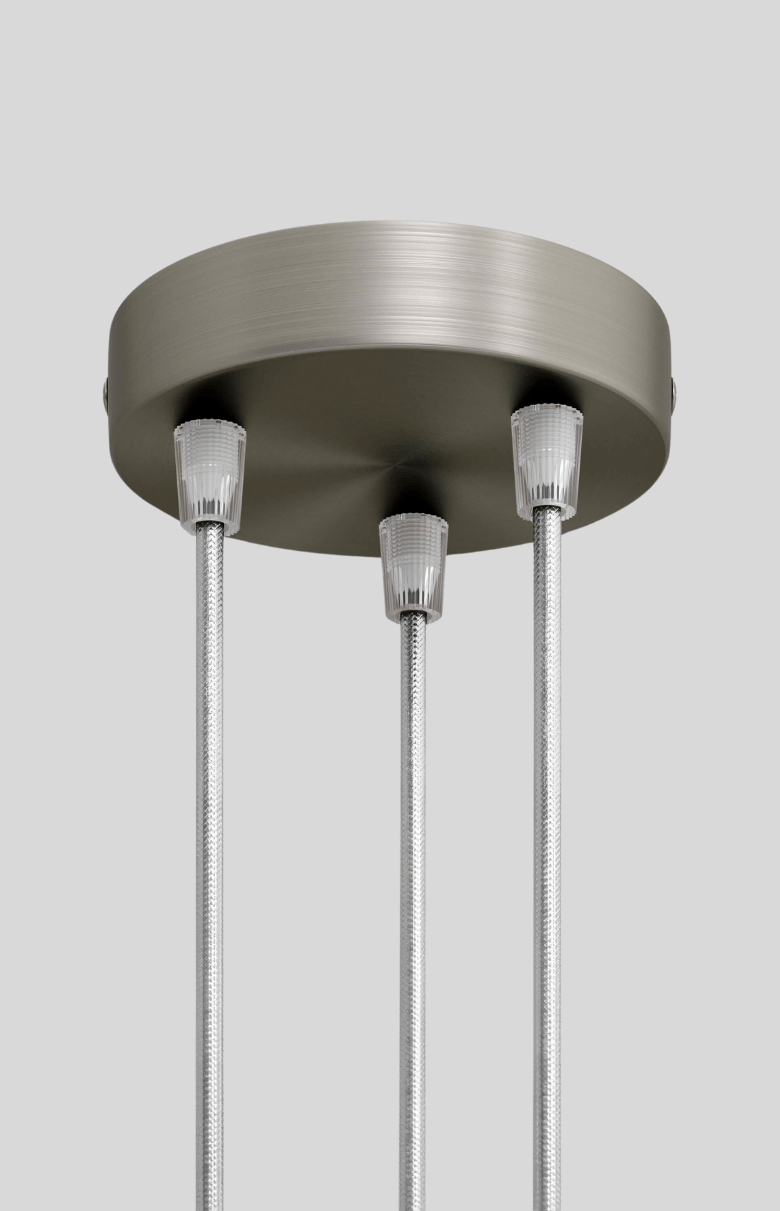
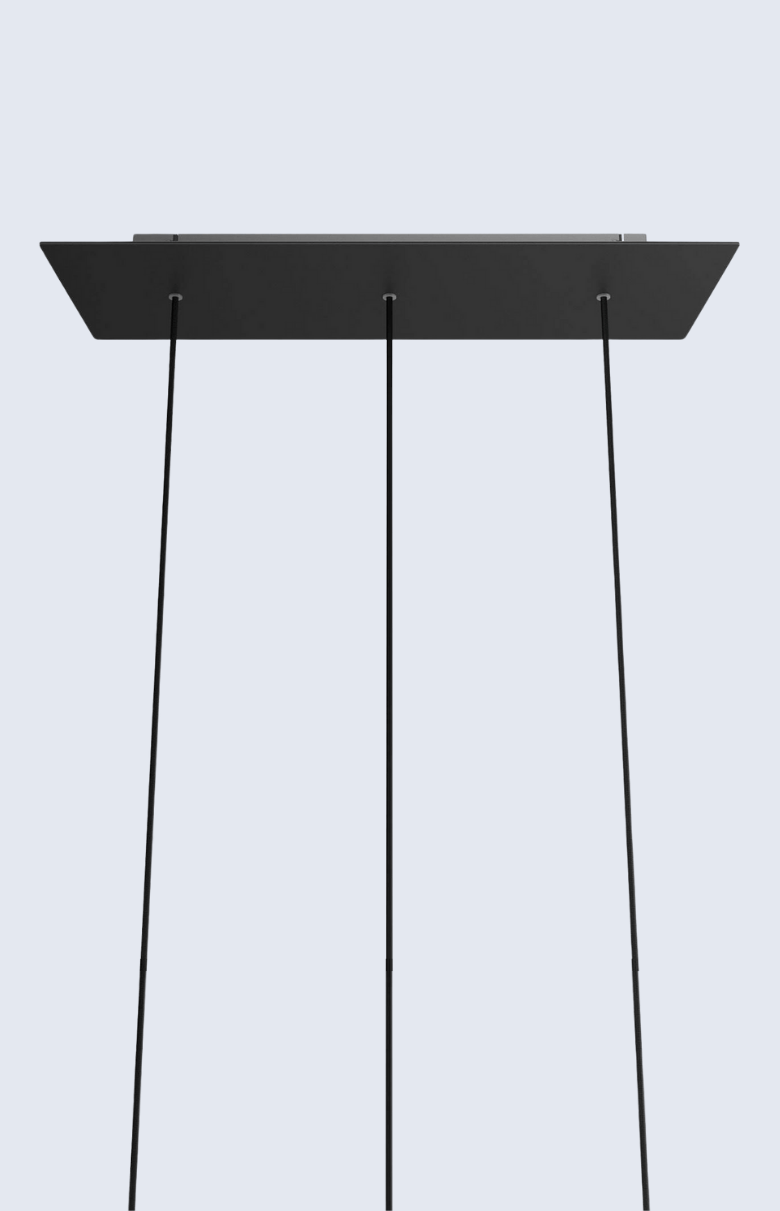
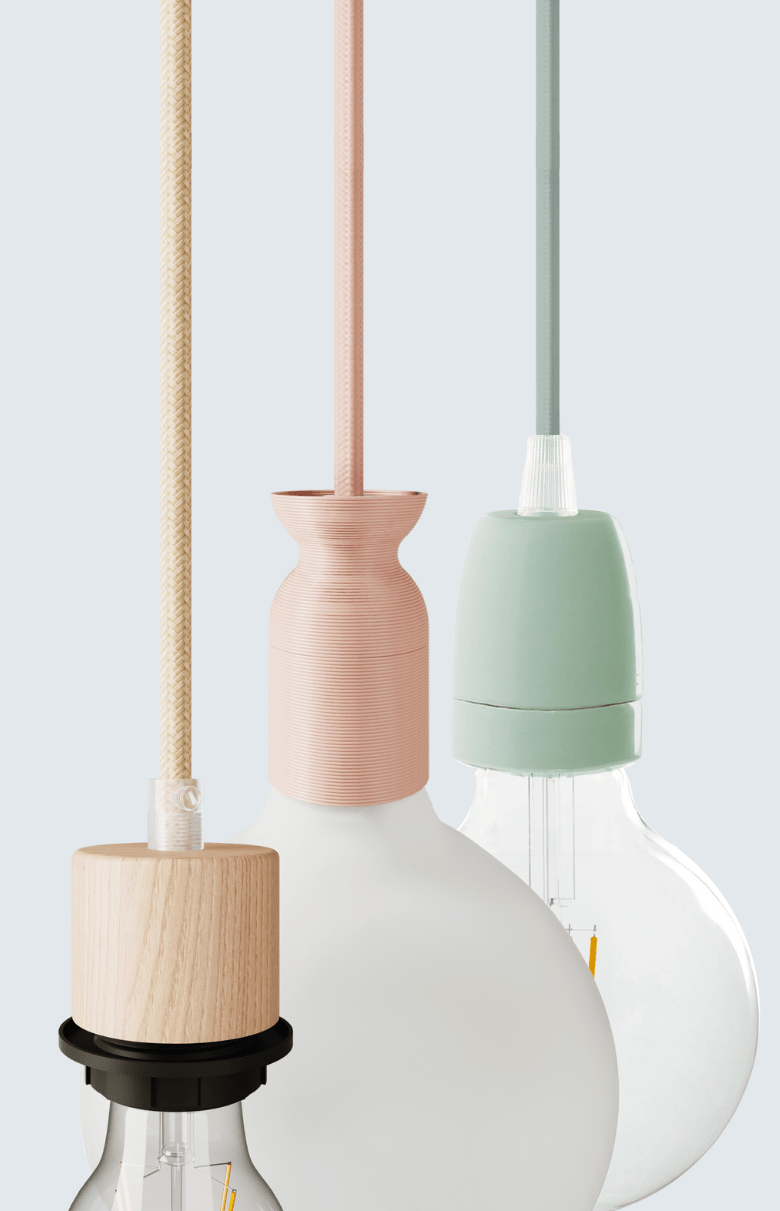
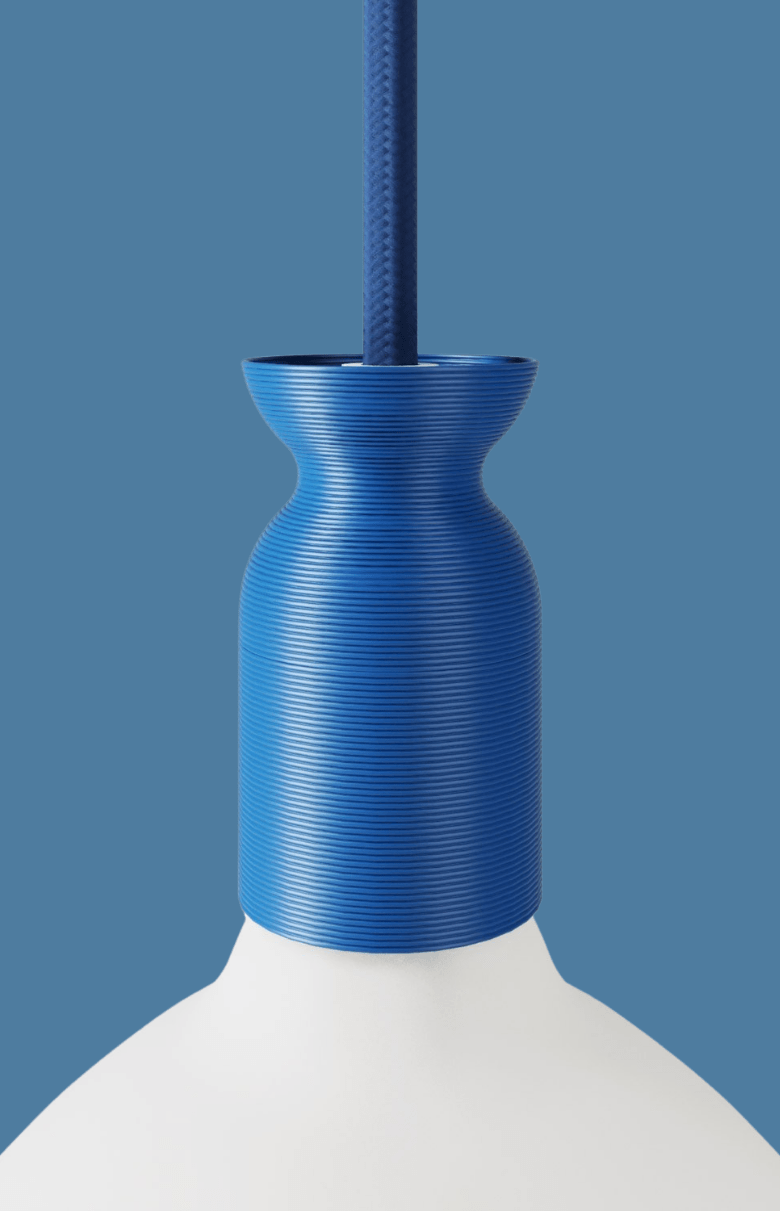
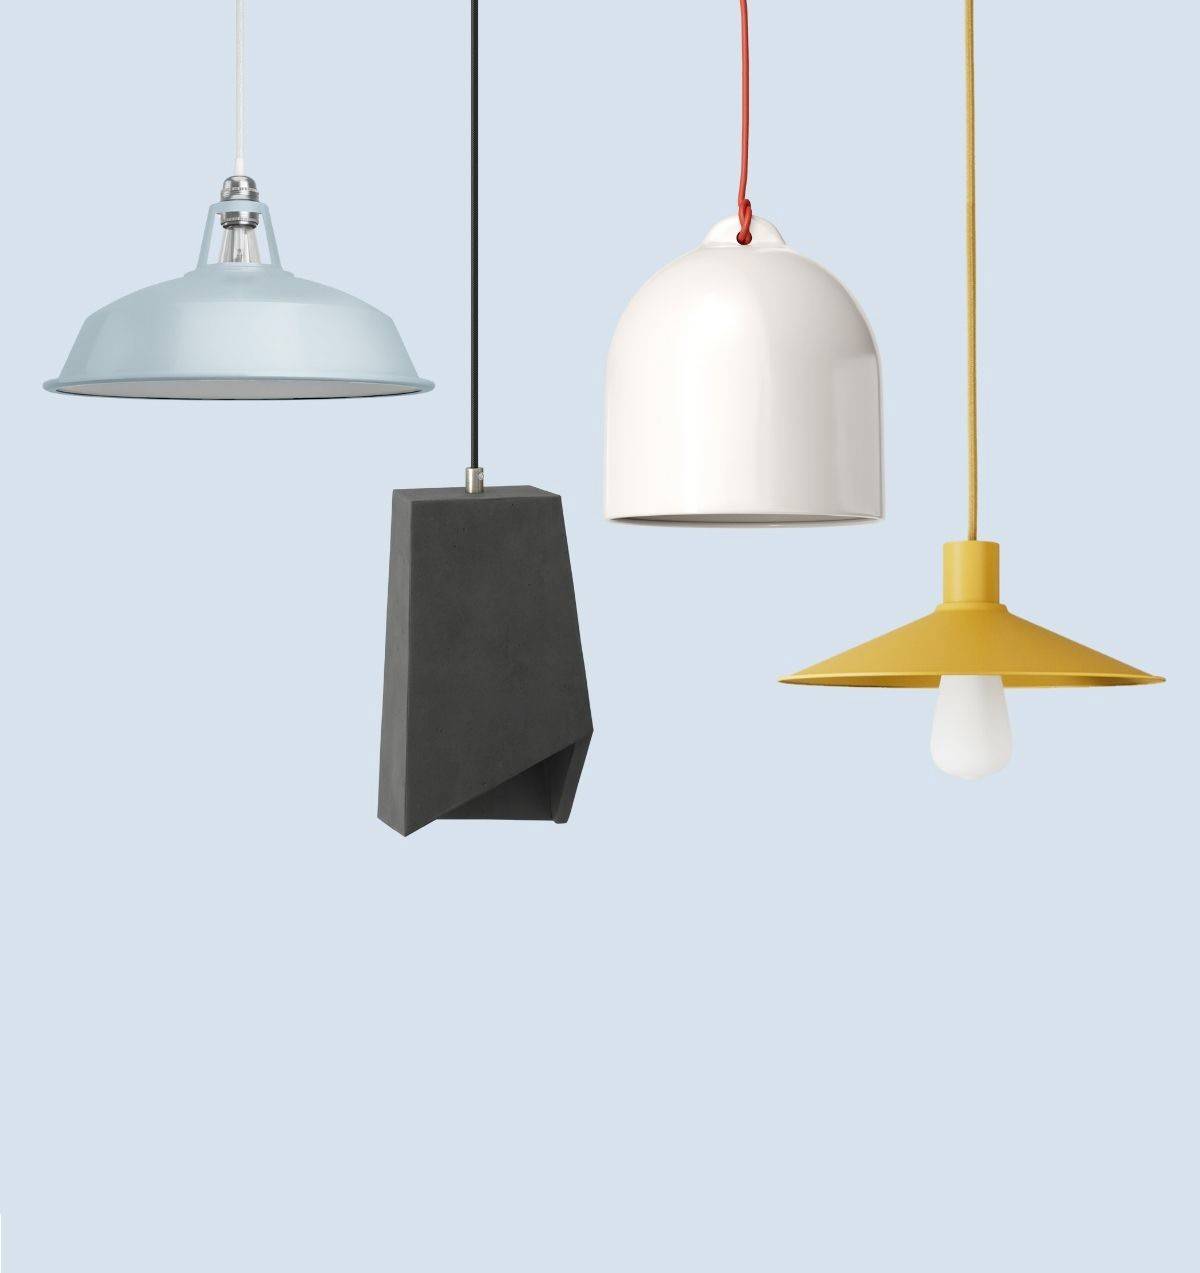
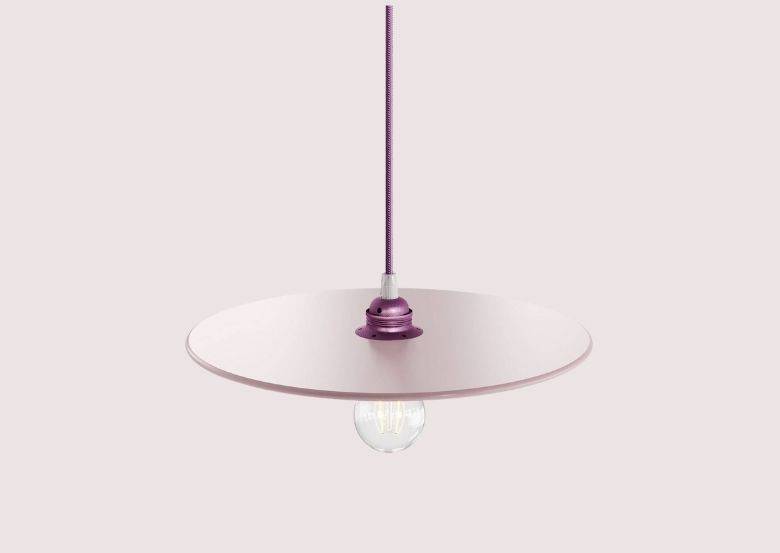
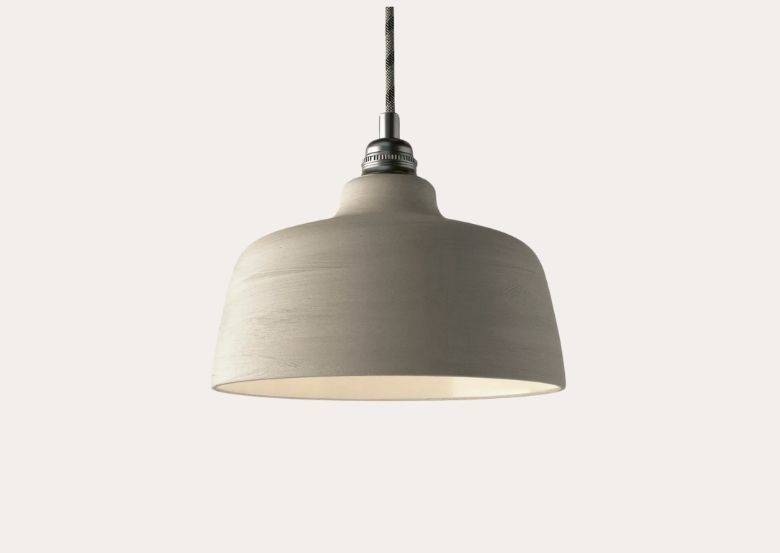
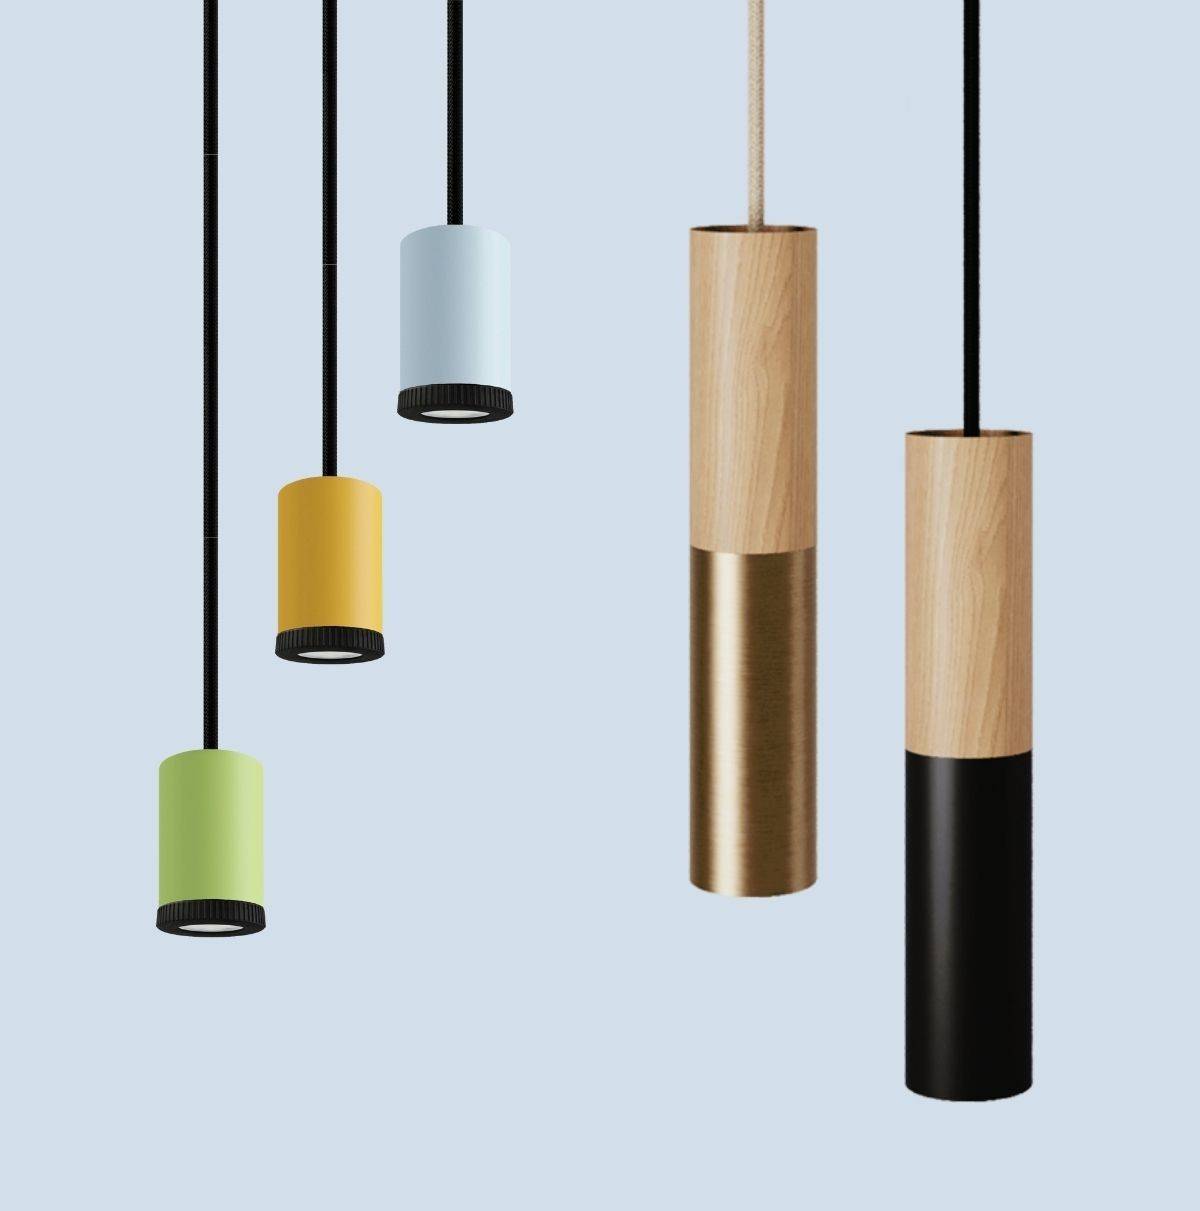
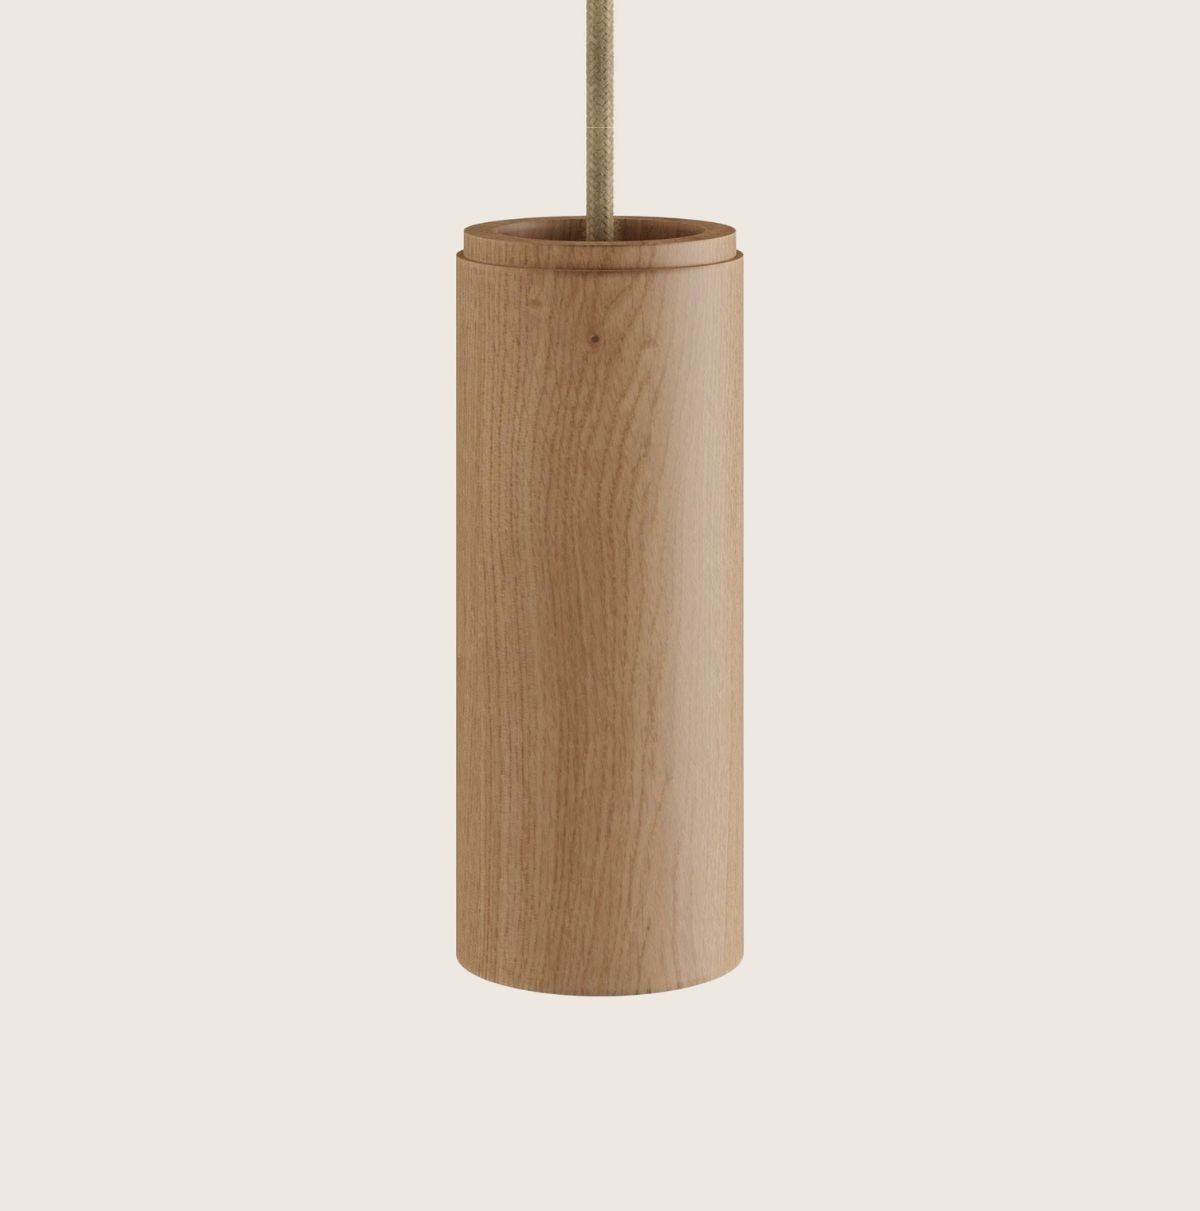
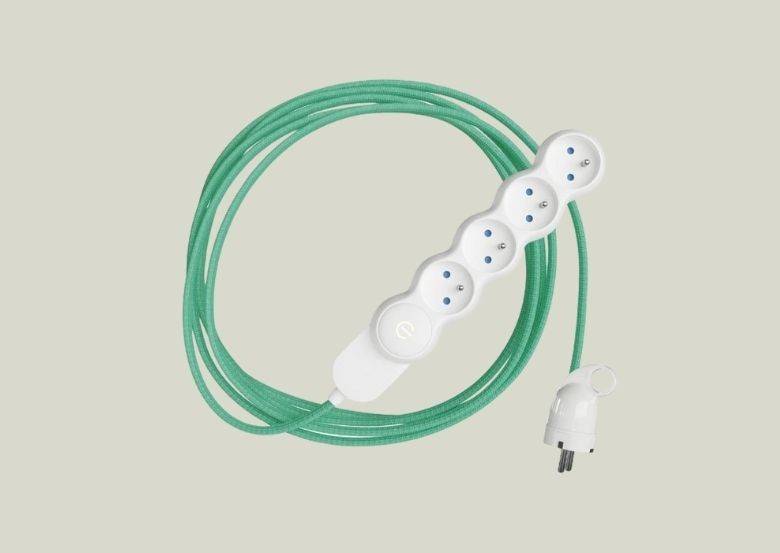
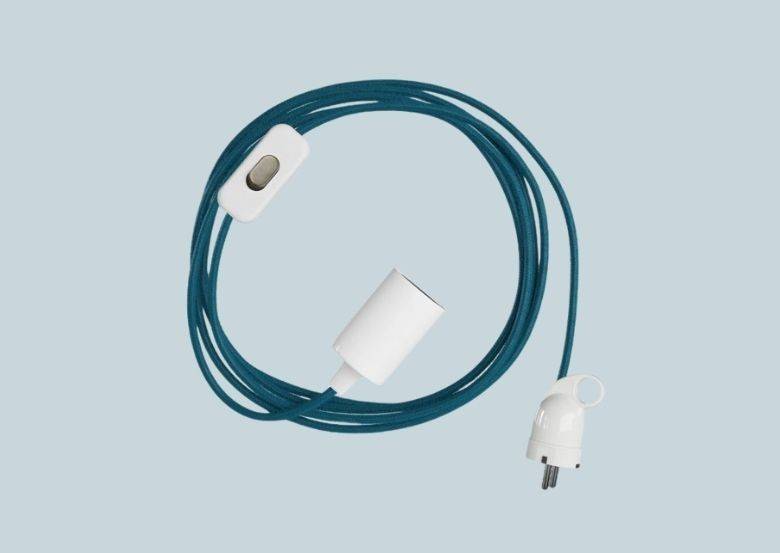
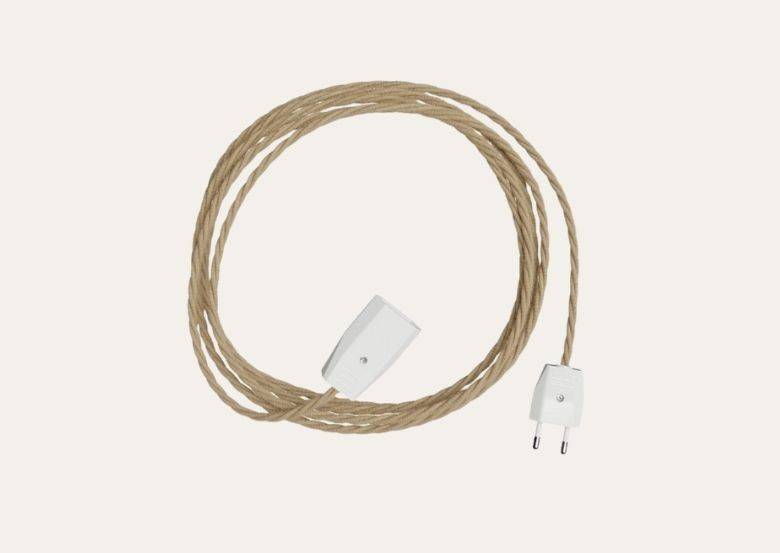
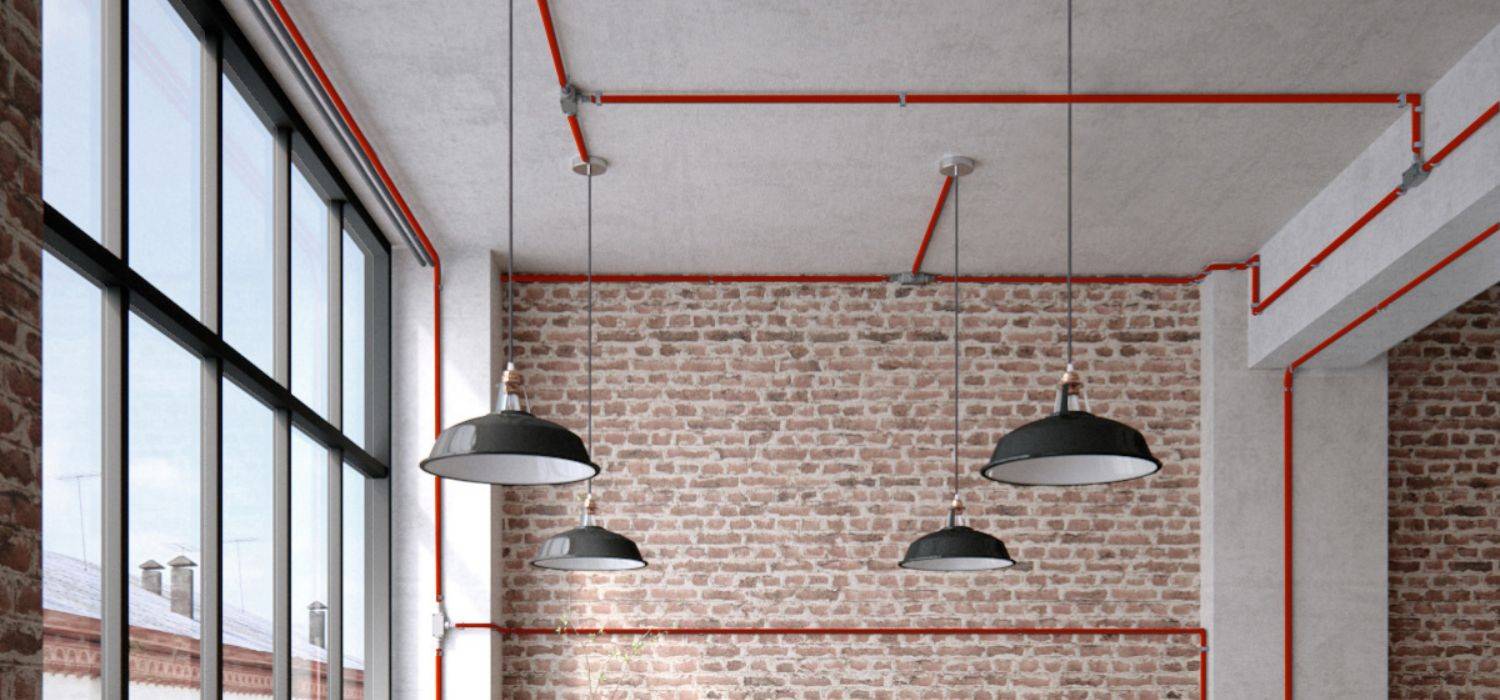
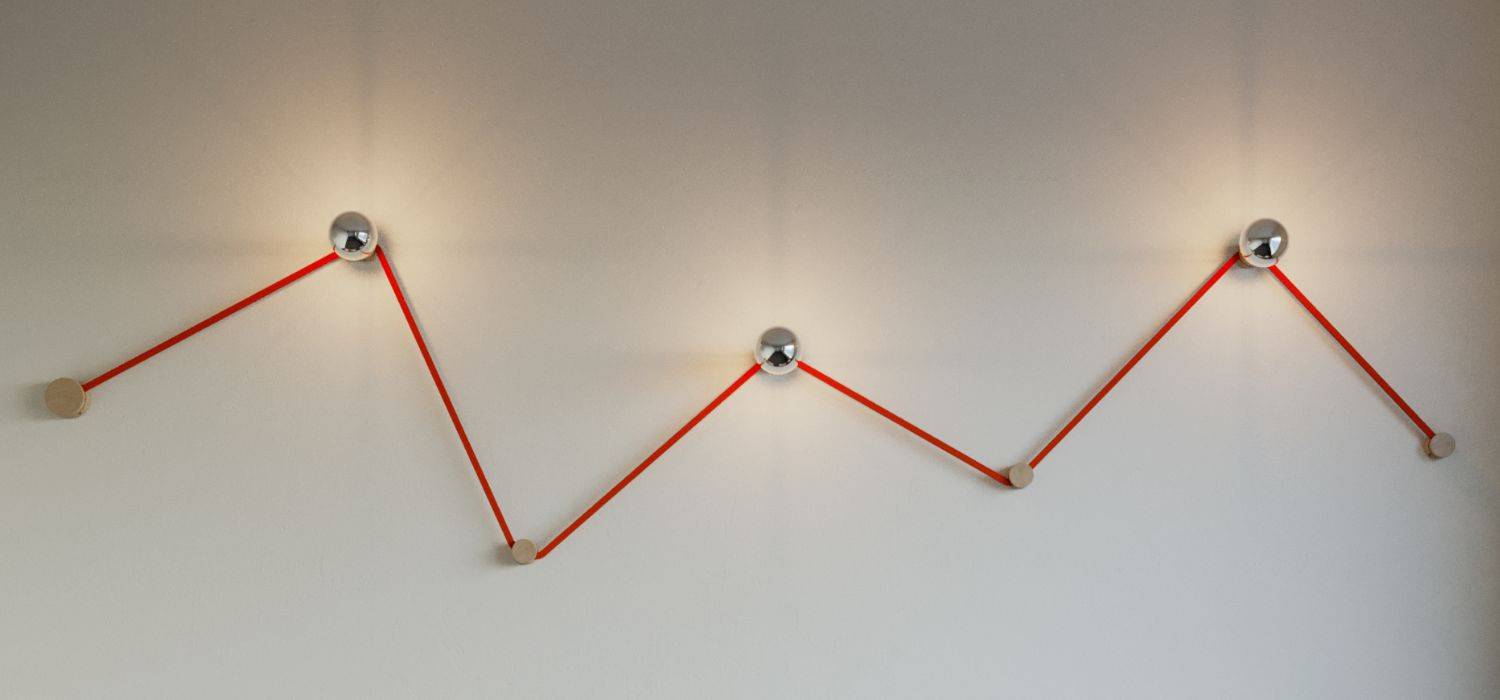
In the Creative-Cables textile cable catalog, you can find more than 150 different lighting cable models, available in various shapes, materials, and, most importantly, colors! However, to create truly unique and creative lamps and lighting projects, we've also taken care of all the components that, along with the cable, form your light creation. For this reason, on our website, you can find more than 120 different lamp holders to find the one that you like the most or that best fits with your cables! Like the cables, our lamp holder kits are also available in a wide variety of colors and materials: from classic ceramic models to cheerful colored silicone models, from Scandinavian-style wooden ones to simple thermoplastic lamp holders. The latter are particularly significant, as many kits consist of an external element combined with an internal thermoplastic lamp holder. Understanding how to assemble this type of lamp holder is important because it is a process that can then be applied to many different kits!


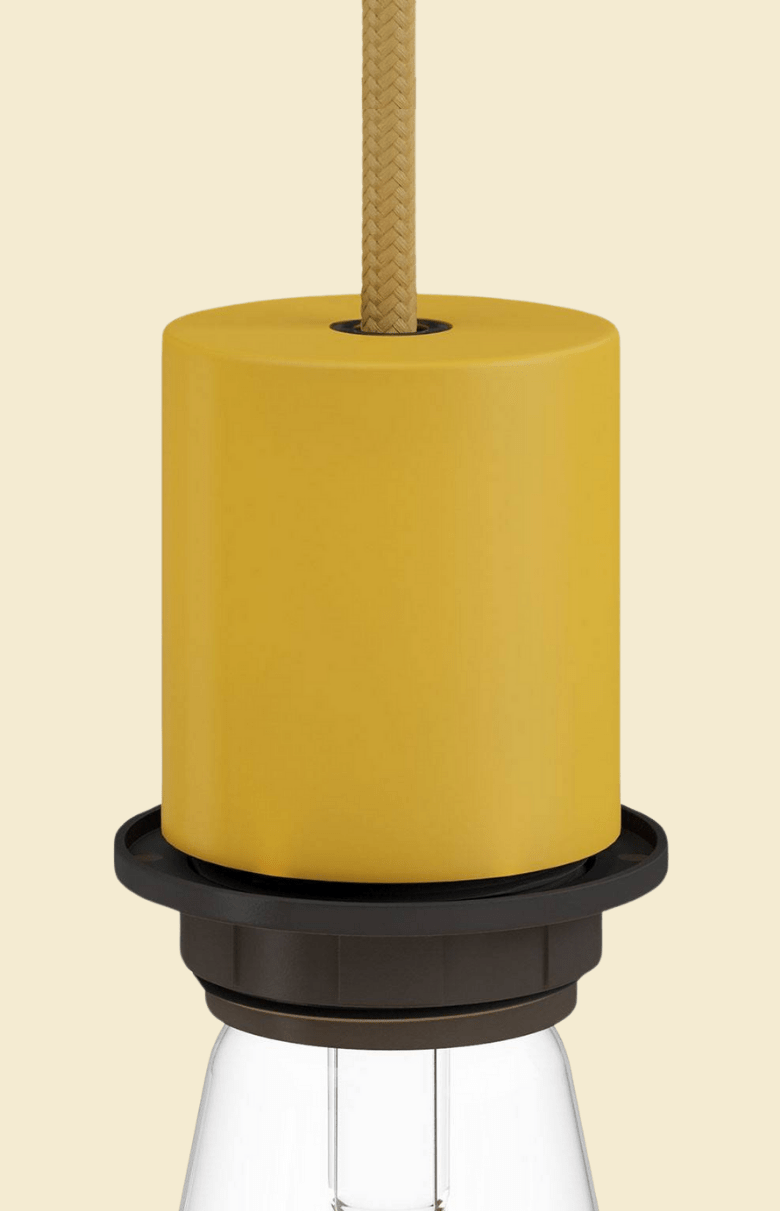
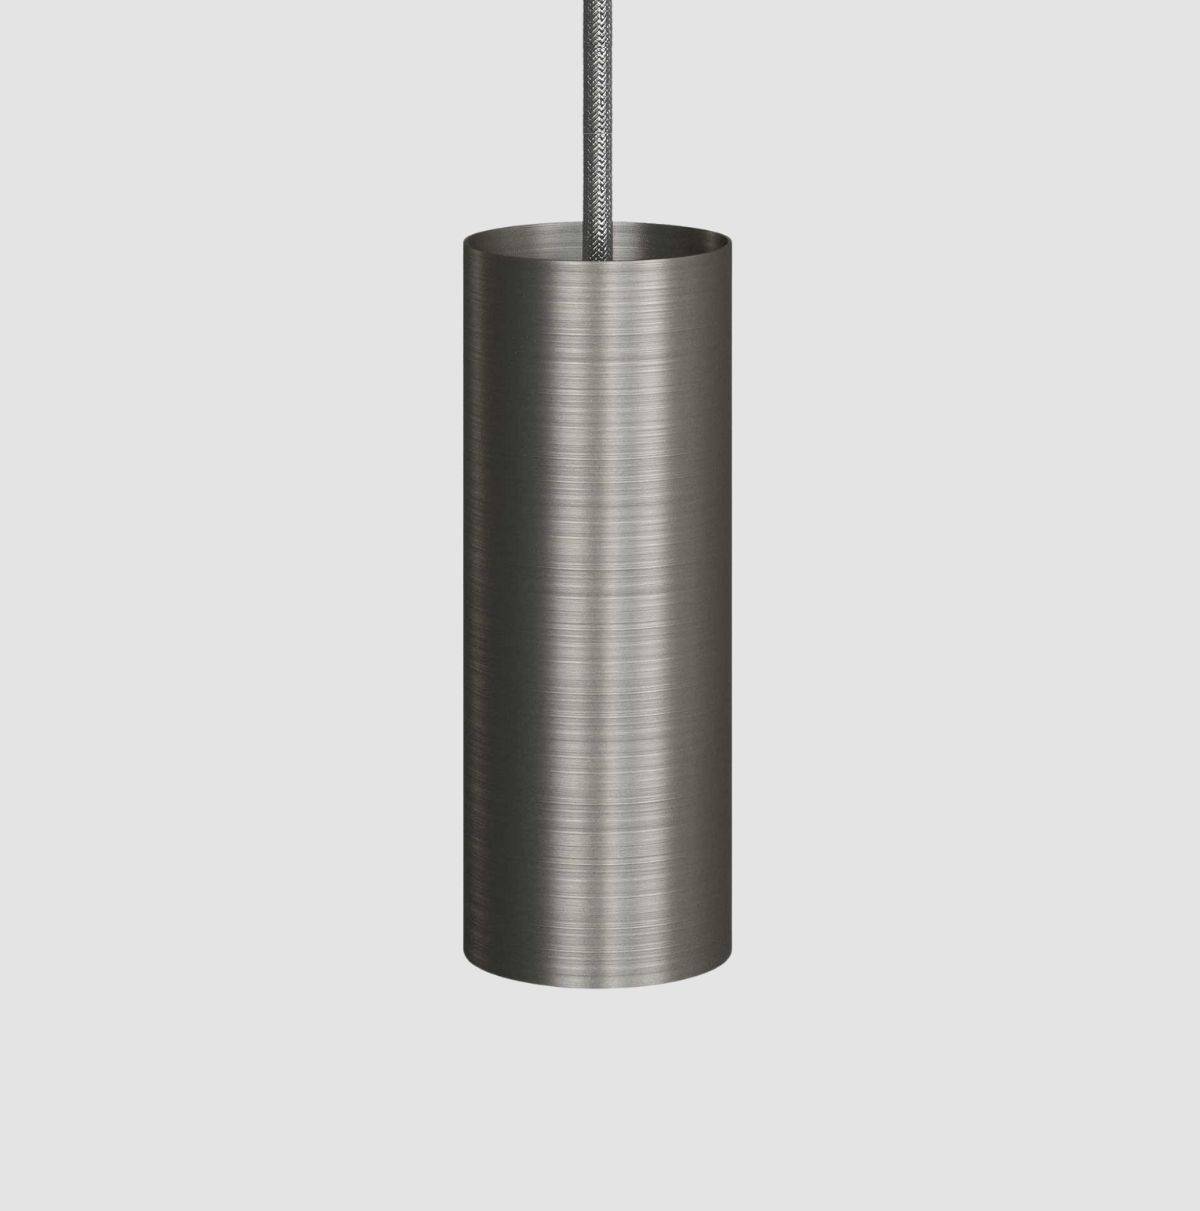
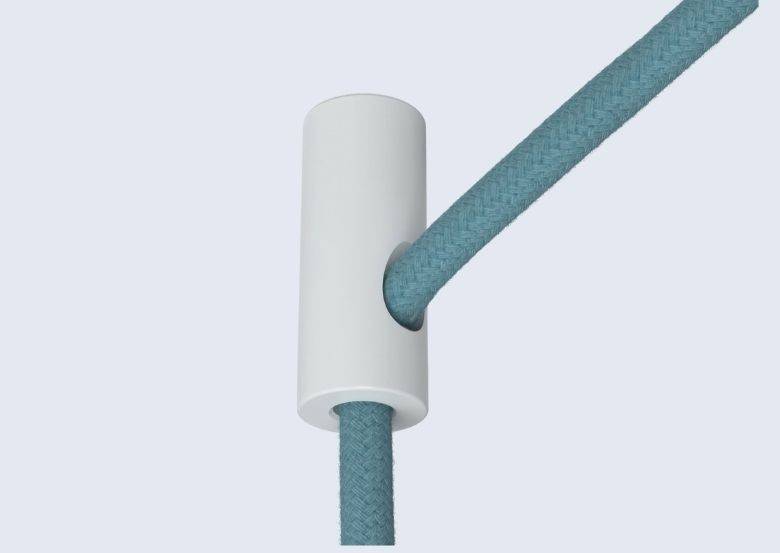
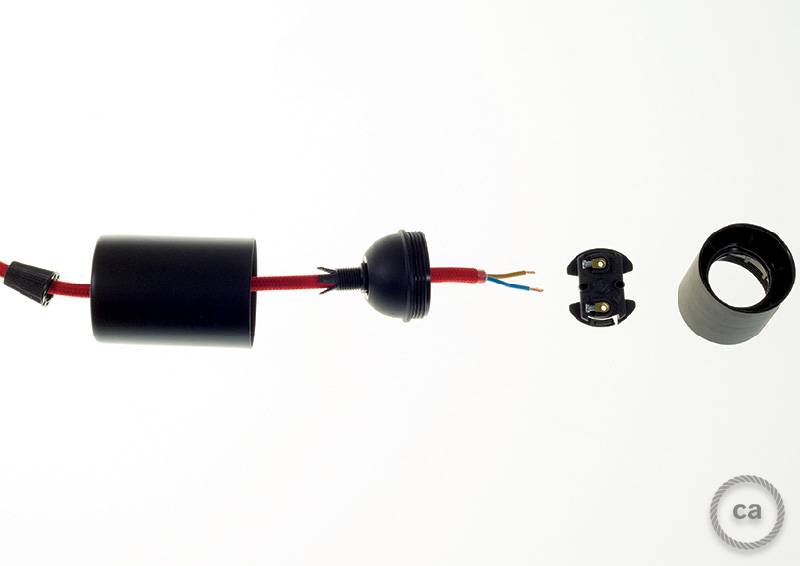
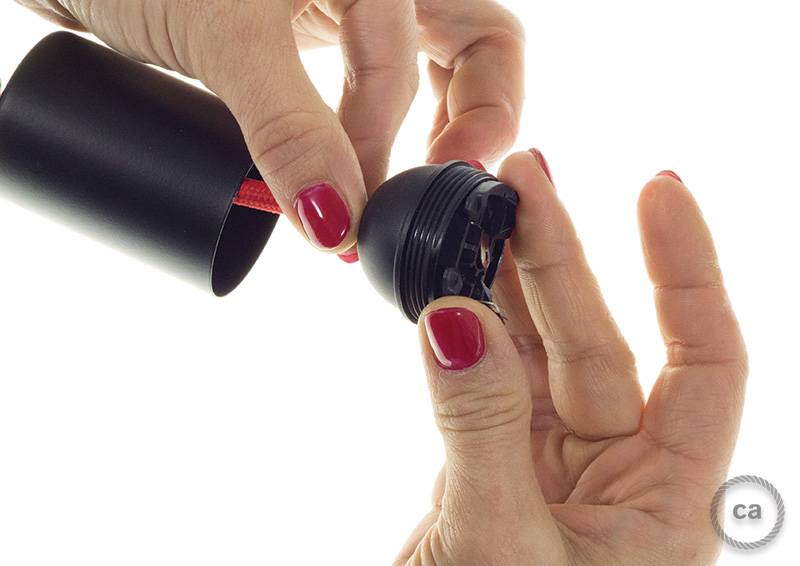
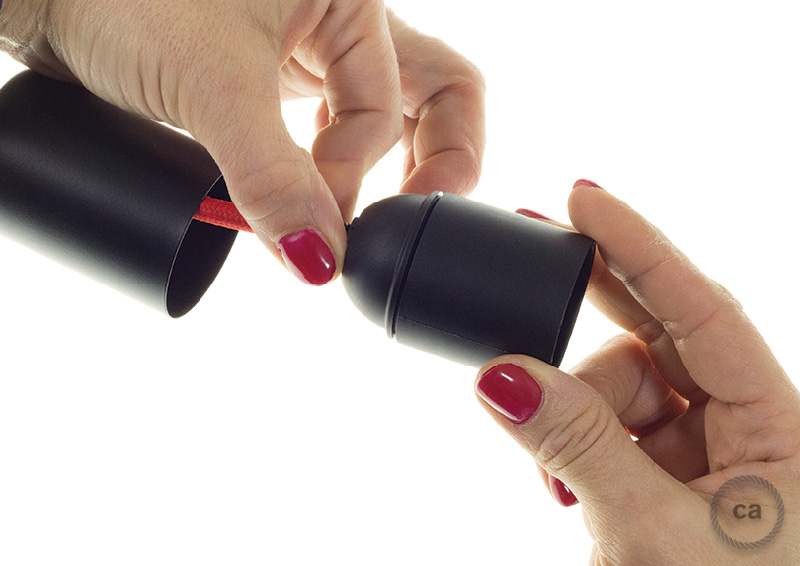
In our fifth tutorial, we will see how to assemble the lamp holder kit with a metal cylinder cup, equipped with a thermoplastic lamp holder inside. The first operation to do will be to disassemble the lamp holder by separating all its components, as can be seen in the first photo. As we have already seen in our tutorial dedicated to how to connect a simple lamp holder, once the cylindrical front part of the lamp holder is unscrewed and the cable clamp and metal cup are separated, we will have the rear part containing the mounted contacts.

To separate the contacts from their seat, we will have to unlock the anti-loosening mechanism, a system that prevents the upper ring from unscrewing every time the bulb is removed. To do this, it will be sufficient to lift the metal tab inside using a screwdriver until it has passed the plastic block on the lamp holder body. As always, for greater safety, remember to perform all operations in the ABSENCE OF ELECTRICAL CURRENT.

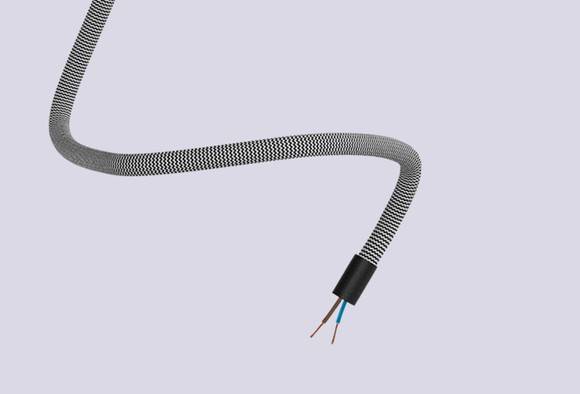
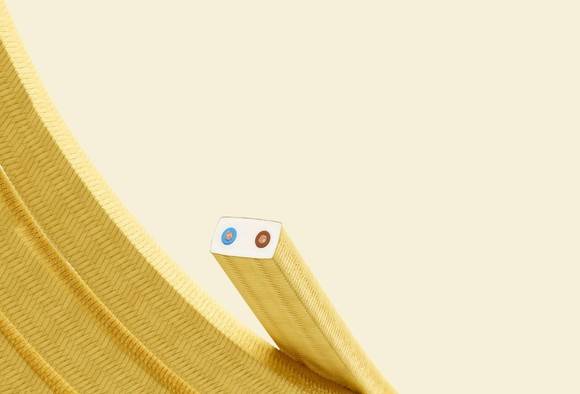
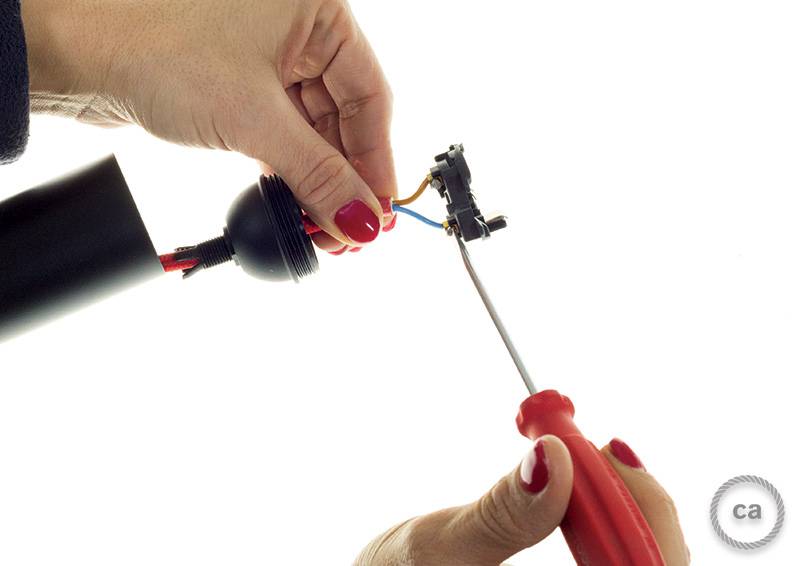
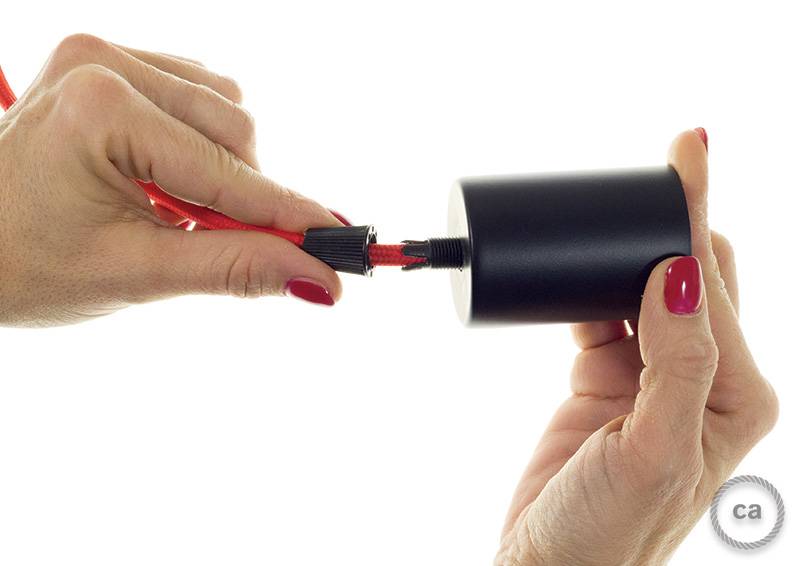
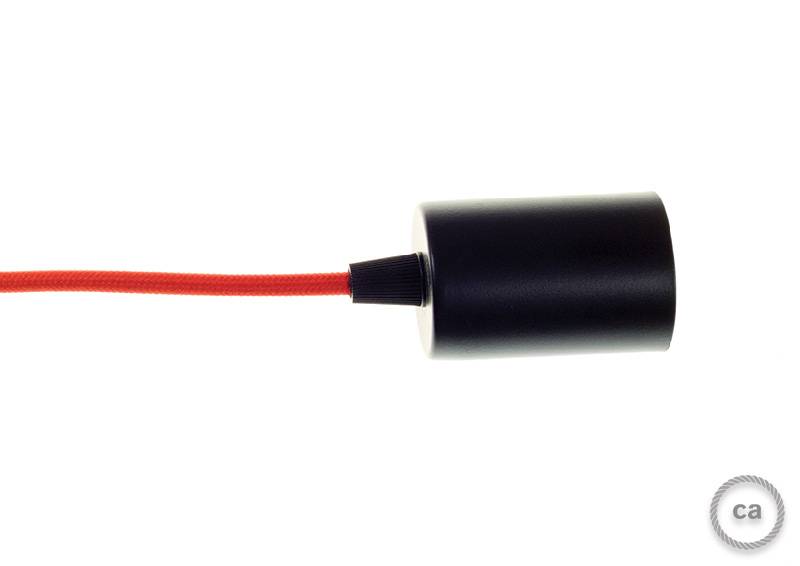
At this point, insert the previously stripped cable (do you remember how to strip a textile cable?) into the cable clamp, the hole in the metal cup, and finally the back of the lamp holder, in that order. Then, we only need to insert the exposed copper filaments into the terminals and tighten them with a screwdriver.
Reposition the contacts in their seat inside the back of the lamp holder and be sure to engage the anti-loosening mechanism: it will be sufficient to engage the lock of the contact block by rotating the part in the opposite direction to what was done to disassemble it. Screw the smooth plastic cylinder and we will have finished wiring the actual lamp holder.
There is only one step left to finish our task today: attach the external metal cup! To do this, it will be sufficient to pass the hole on the cup through the threaded part of the cable clamp, located on the back of the lamp holder, and then screw the external part of the cable clamp onto it. This way the cup will remain firmly fixed and locked between the cable clamp and the lamp holder, and the textile cable will not slide.
The lamp holders with metal cups are available not only with the plastic cable clamp, as shown in the tutorial photos, but also with a cylindrical cable clamp. But don't worry: even for these, the process for assembling the lamp holder kit will be the same, only the method for tightening the cable clamp will change. Soon we will see how to do it in a new tutorial.

I Creative-Cables-kataloget er der over 200 forskellige modeller af stofbelysningskabler tilgængelige i forskellige former, materialer og mest vigtigt af alt, i alle farver! For at skabe virkelig unikke og kreative lamper og belysningsdesigns, har vi tænkt på alle de komponenter, der sammen med kablet udgør din lampe. Derfor finder du på vores hjemmeside over 120 forskellige lampeholdere. Find din favorit, eller den der bedst matcher dine kabler!

Præcis som vores kabler er vores lampeholderkits tilgængelige i et bredt udvalg af farver og materialer: fra klassisk keramik til farverige silikone-modeller, fra skandinavisk træ til enkle termoplastik. Sidstnævnte er særligt vigtige, fordi mange kits er sammensat af forskellige materialer og parret med en såkaldt "klassisk" type lampeholder. Det er vigtigt at forstå, hvordan man opsætter denne type lampeholder, da det er en proces, der vil være nyttig for enhver type samling!

I vores femte vejledning vil vi se, hvordan man samler den metal lampeholder. Det første, du skal gøre, er at adskille lampeholderen, adskille alle dens komponenter, som vist på det første billede. Som vi allerede har vist i vejledning 2 "Hvordan tilsluttes lampeholderen?" når toppen af lampeholderen og kabelklemmen er adskilt, og de to metaldele er skruet fra hinanden, vil delen med de elektriske forbindelser være synlig.

For at adskille to elementer (elektrisk forbindelse/lampeholder), skal du låse anti-løsningsmekanismen op, et system der forhindrer, at den øverste ring afmonteres, når pæren fjernes. For at gøre dette, skal du blot trykke på den metalflig indvendigt med en skruetrækker, indtil den passerer de plastik-tænder indeni lampeholderens krop. Som altid, af sikkerhedshensyn, udfør alle operationer i FRATRÆDEN AF ELEKTRISK STRØM.

Indsæt nu det tidligere afisolerede kabel (husker du, hvordan man afisolerer et kabel, ikke sandt?) i kabelklemmen, derefter i hullet på den metal lampeholder, og derefter til den elektriske forbindelse, følg denne rækkefølge omhyggeligt. Indsæt derefter blot de afisolerede kobbertråde i terminalerne og stram med en skruetrækker.

Placer de elektriske forbindelser i bagsiden af stikkontakten og sørg for ikke at aktivere anti-løsnemekanismen: frigør simpelthen låsen ved at dreje stykket i modsat retning for at adskille det. Skru den plastik kabelklemme på, og stikkontakten er færdigmonteret.

Der er kun én sidste opgave tilbage: juster den øverste metal del! For at gøre dette, skal du blot indsætte den øverste stikdel på den gevindede del med kabelklemmen, som er placeret bag på stikket, og derefter skrue de to dele sammen. På den måde vil den nedre del forblive fast og sikre kabelforbindelserne mellem kabelklemmen og stedet, hvor lyspæren skrues i, og stofkablet vil ikke løsnes!

Metal sleeves are available not only with a conical plastic cable clamp, as shown in the tutorial photos, but also with a cylindrical cable clamp. But don't worry: even for the latter, the procedure for assembling the kit remains the same. The only question that may arise is, how to tighten the cable clamp? We will illustrate this in another tutorial!

0 Comments

You must be logged in to post comments

Log ind

Din indkøbskurv

Der er ikke flere varer i din indkøbskurv.