Tutorial #5 - How to assemble the metal lamp holder?
- 13 Φεβ, 2015
- Assembly Instructions
- 0 Comments
In the Creative-Cables textile cable catalog, you can find more than 150 different lighting cable models, available in various shapes, materials, and, most importantly, colors! However, to create truly unique and creative lamps and lighting projects, we've also taken care of all the components that, along with the cable, form your light creation. For this reason, on our website, you can find more than 120 different lamp holders to find the one that you like the most or that best fits with your cables! Like the cables, our lamp holder kits are also available in a wide variety of colors and materials: from classic ceramic models to cheerful colored silicone models, from Scandinavian-style wooden ones to simple thermoplastic lamp holders. The latter are particularly significant, as many kits consist of an external element combined with an internal thermoplastic lamp holder. Understanding how to assemble this type of lamp holder is important because it is a process that can then be applied to many different kits!
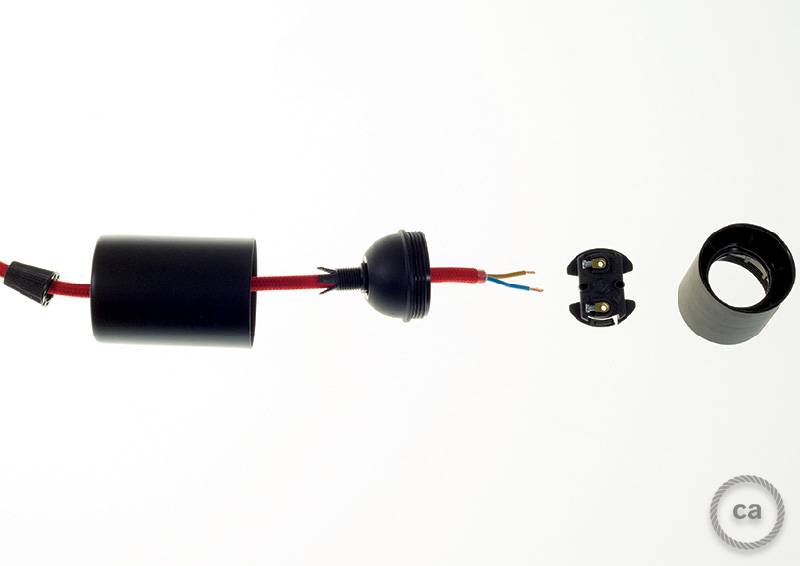
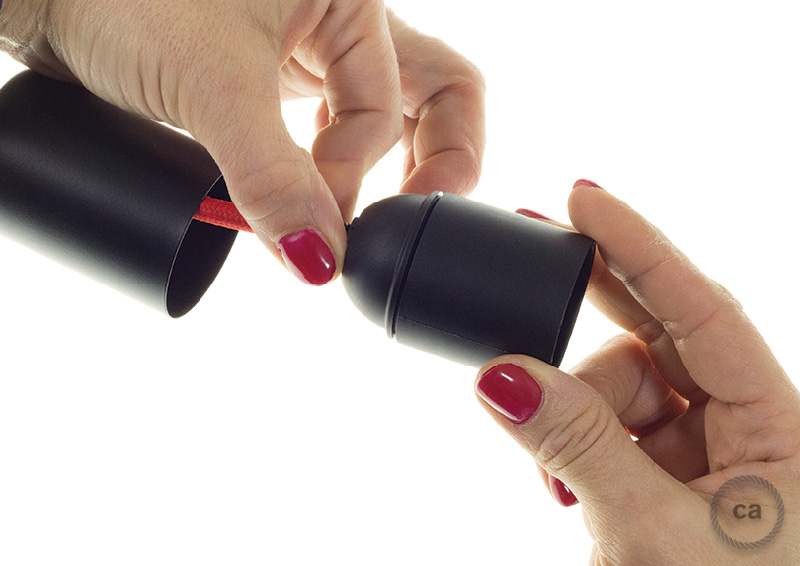
In our fifth tutorial, we will see how to assemble the lamp holder kit with a metal cylinder cup, equipped with a thermoplastic lamp holder inside. The first operation to do will be to disassemble the lamp holder by separating all its components, as can be seen in the first photo. As we have already seen in our tutorial dedicated to how to connect a simple lamp holder, once the cylindrical front part of the lamp holder is unscrewed and the cable clamp and metal cup are separated, we will have the rear part containing the mounted contacts.
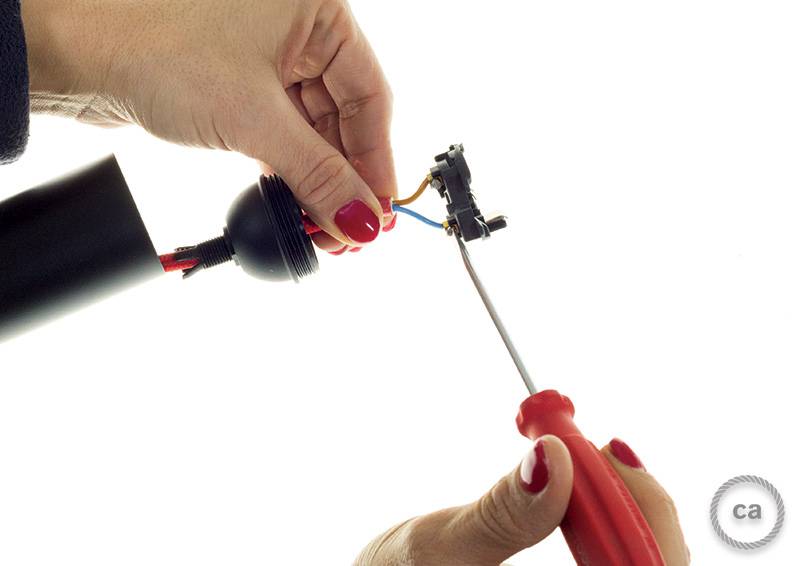
To separate the contacts from their seat, we will have to unlock the anti-loosening mechanism, a system that prevents the upper ring from unscrewing every time the bulb is removed. To do this, it will be sufficient to lift the metal tab inside using a screwdriver until it has passed the plastic block on the lamp holder body. As always, for greater safety, remember to perform all operations in the ABSENCE OF ELECTRICAL CURRENT.
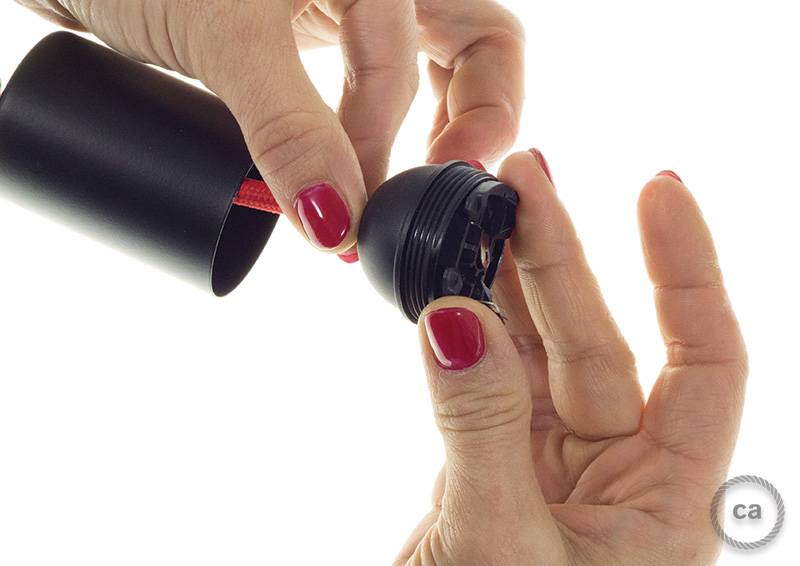
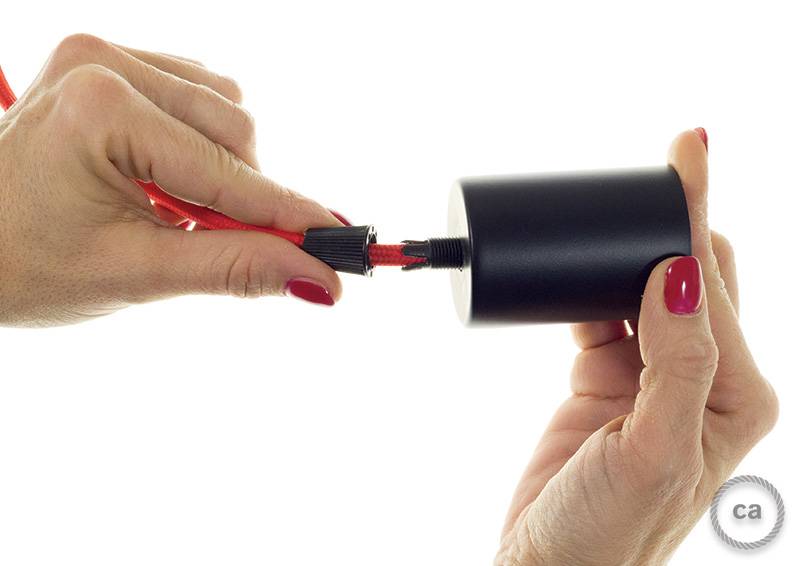
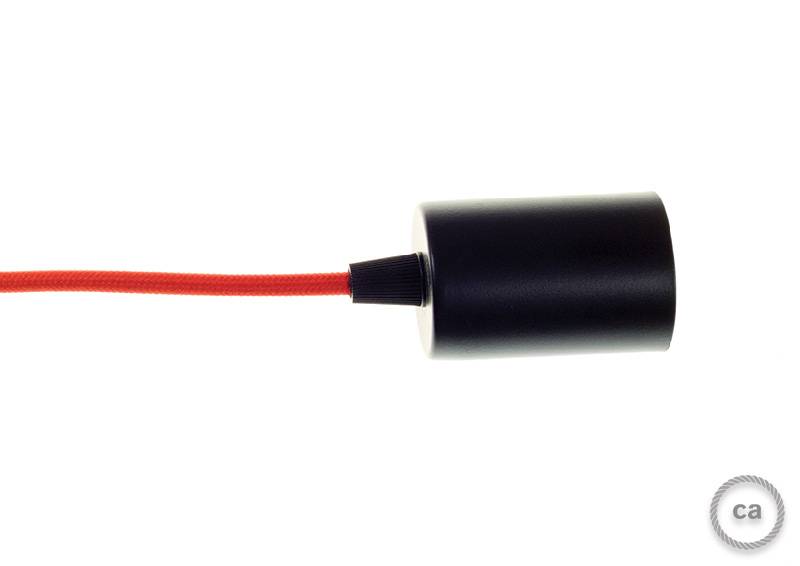
At this point, insert the previously stripped cable (do you remember how to strip a textile cable?) into the cable clamp, the hole in the metal cup, and finally the back of the lamp holder, in that order. Then, we only need to insert the exposed copper filaments into the terminals and tighten them with a screwdriver.
You must be logged in to post comments



0 Comments